Asset Tag Management
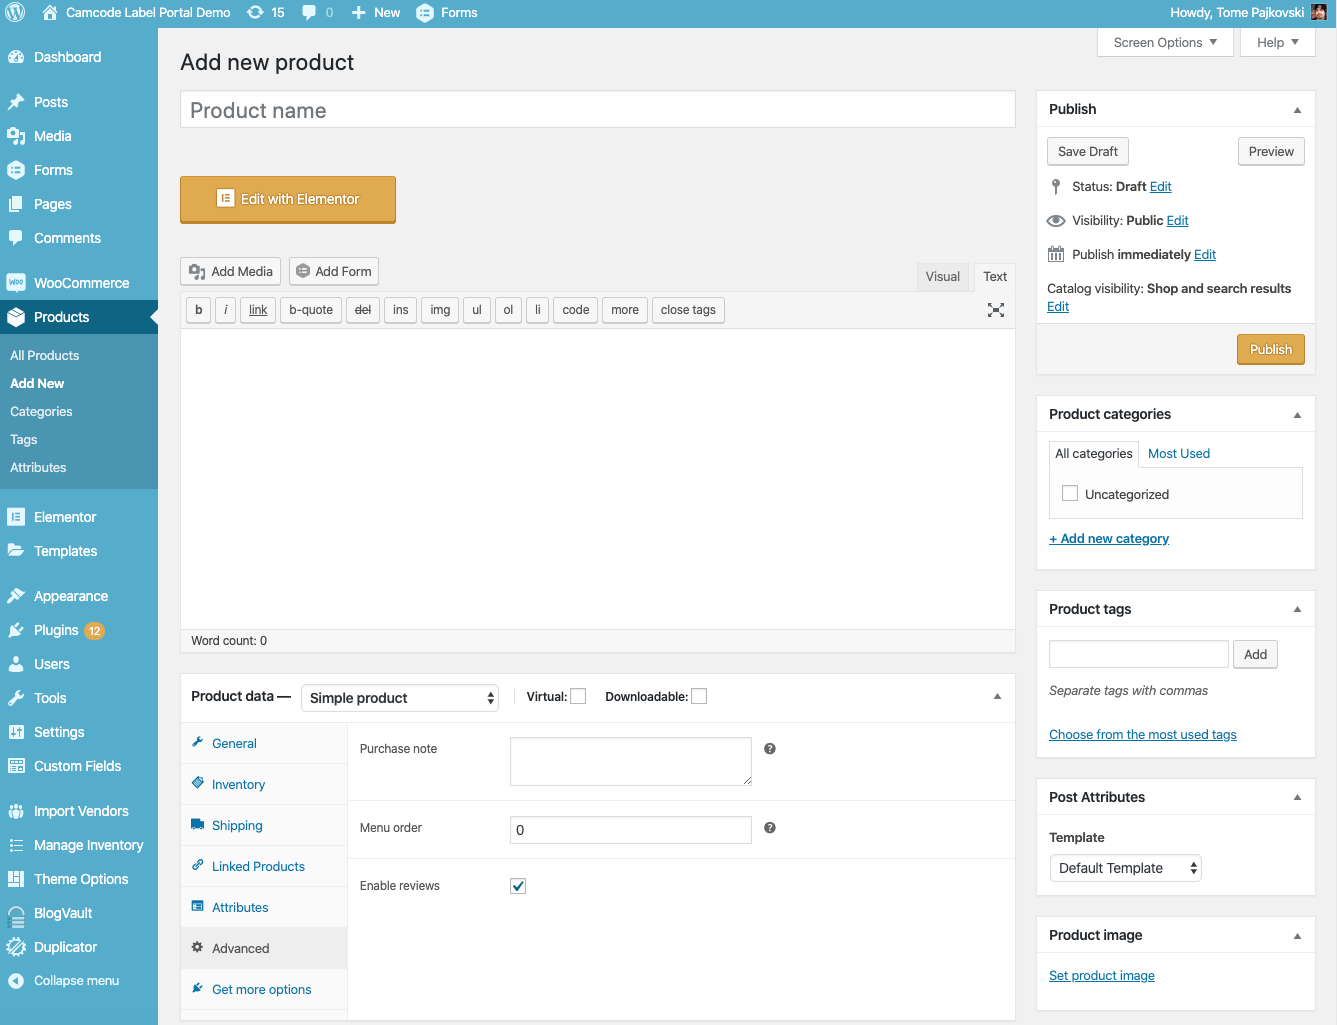
Create a New Asset Tag
- Log in to the Admin Dashboard.
- Go to the Products section.
- Click on the "Add New" button.
- Set the Product Name
- Set the Regular Price to 1.
- Upload the Product installation PDF using the Upload PDF button.
- Set the Product Image.
- Save the Product using the Publish button.
Create a New Asset Tag video
Set Additional content
- Log in to the Admin Dashboard.
- Go to the Products section.
- Select the Product to set the additional content.
- Click on Edit with Elementor.
- Upload the content ( usually the PDF instructions as an image).
- Select View Page and Review the additional content.
Set Additional content video
Change the order of the Asset Tag on the Home Page
The default sorting of the products on the Home is alphabetical. In WooCommerce, there is the option to set custom order of the products.
- Log in to the Admin Dashboard.
- Go to the Products section.
- Select the Product to set the custom order.
- Select the Advanced Tab of the product Data section.
- In order to set it in front, change the Menu Order value to a negative number.
- Save the change using the Update Button.